Snohomish County landscape, excavation, and construction
How to install retaining wall Snohomish

How to Install Retaining Wall Snohomish County

Table of Contents

Introduction to Installing a Retaining Wall

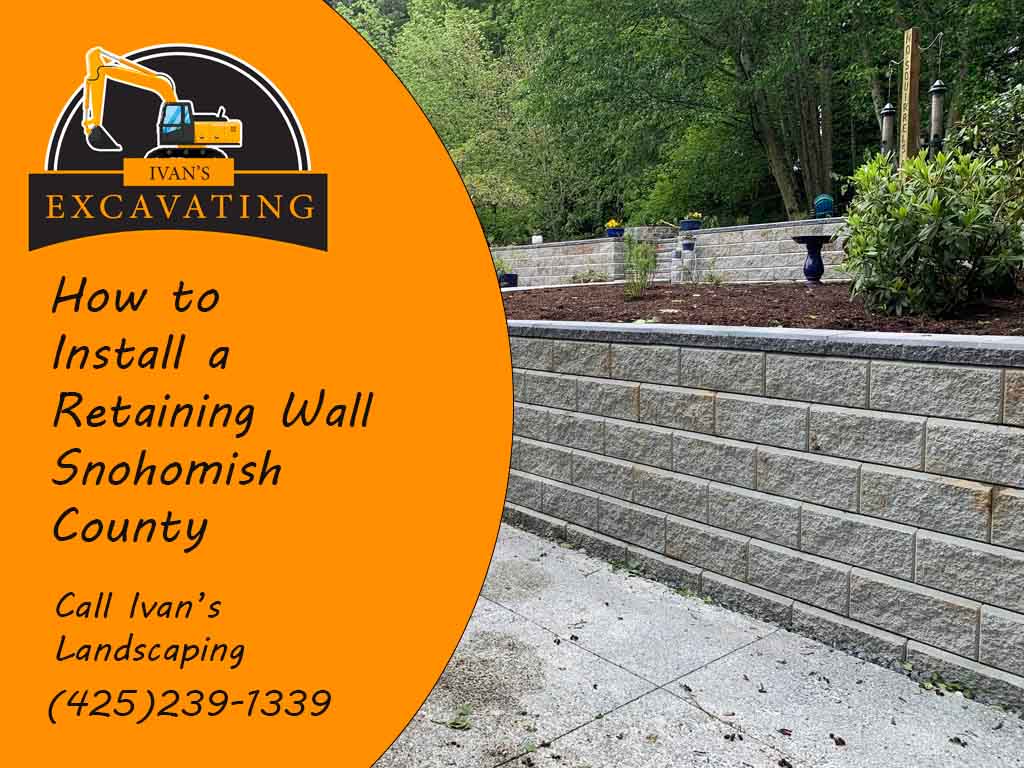
Retaining walls are essential structures that hold back soil and prevent erosion. In Snohomish County, Washington, the need for retaining walls is particularly significant due to the region’s varied terrain. This article will guide you through the process of installing a retaining wall in your property, ensuring stability and aesthetic appeal.

Tools Needed for Installation

Before you begin, gather the necessary tools for the job. Having the right tools on hand will make the process smoother and more efficient:

  • Shovel: For digging the foundation trench. A sturdy shovel will help you remove soil and create a level base for your wall.
  • Level: To ensure the wall is straight and even. A long level is essential for checking the alignment of each course of blocks or stones.
  • Tamper: For compacting the soil and gravel. A hand tamper or mechanical plate compactor ensures a solid foundation.
  • Masonry Saw: If cutting blocks or stones is required, a masonry saw will provide clean, precise cuts.
  • Drainage Pipe: To manage water flow behind the wall. A perforated pipe, covered with fabric to prevent clogging, will help direct water away from the wall.
  • Gloves and Safety Glasses: For personal protection. Safety should always be a priority, and these items will protect your hands and eyes during construction.
  • Wheelbarrow: For transporting materials. A wheelbarrow will save time and effort in moving blocks, stones, gravel, and soil.
  • Chisel and Hammer: If you need to shape stones or blocks, these tools will allow for fine adjustments.
Tools Photo Retaining Wall

Common Mistakes to Avoid

Avoiding common mistakes will ensure a successful installation. Here’s a closer look at potential pitfalls and how to avoid them:

  • Poor Drainage: Ensure proper drainage to prevent water buildup. Water trapped behind the wall can cause pressure and damage. Use a drainage pipe and backfill with gravel to allow water to escape.
  • Inadequate Foundation: A strong foundation is key to stability. Dig a deep enough trench and compact the base thoroughly. An unstable foundation can lead to the wall settling unevenly.
  • Ignoring Local Regulations: Check Snohomish County’s building codes and permits. Building without the necessary permissions can lead to fines and the need to modify or remove the wall.
  • Using Low-Quality Materials: Invest in quality materials for longevity. Cheap or inappropriate materials may not withstand the pressures exerted by the soil, leading to failure over time.
  • Rushing the Process: Take your time and follow each step carefully. Rushing through the installation can lead to mistakes that are difficult to correct later.
  • Failing to Plan: Proper planning includes assessing the site, choosing the right materials, and creating a design that fits your landscape. Failing to plan can lead to a wall that doesn’t meet your needs or expectations.


By paying attention to these details and avoiding common mistakes, you can ensure that your retaining wall installation in Snohomish County is a success. Whether you’re a DIY enthusiast or a professional landscaper, these insights will help you build a wall that is both functional and beautiful.

Step-by-Step Guide to Installation

Planning and Design

The planning and design phase is crucial for a successful retaining wall installation. Here’s a detailed guide:

  1. Assess the Area: Determine the wall’s size, shape, and location. Consider the slope, soil type, and drainage needs. Sketch a rough design to visualize the final product.
  2. Get Necessary Permits: Check local regulations in Snohomish County. Contact your local building department to understand the specific requirements and obtain any necessary permits.
  3. Hire a Professional if Needed: Complex walls, especially those over a certain height, may require an engineer or landscape architect. Their expertise ensures that the wall is structurally sound and meets local codes.

Selecting Materials

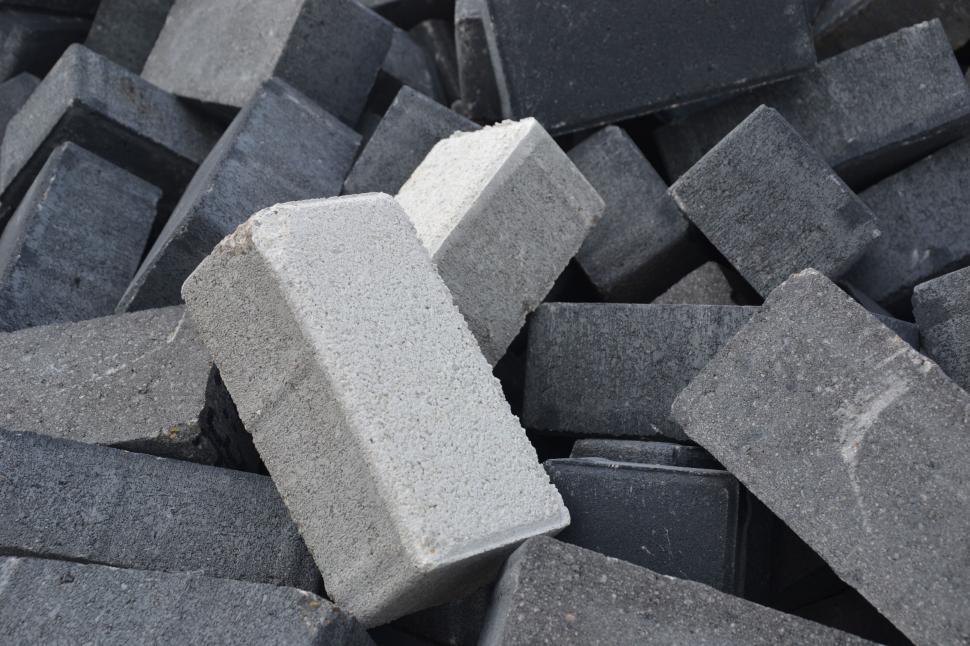
Choosing the right materials is vital for both aesthetics and durability:

  1. Concrete Blocks: These are widely used for their uniformity and ease of installation. Various finishes and colors are available to match your landscape.
  2. Natural Stone: For a more rustic look, natural stone offers unique shapes and textures. It may require more skill to install but provides a timeless appearance.
  3. Wood: Treated timber is another option, especially for shorter walls. It offers a natural look but may not last as long as stone or concrete.
  4. Consider Climate: In Snohomish County, consider materials that can withstand the local weather conditions. Consult with local suppliers to find the best options for your area.
Concrete Retaining Walls Snohomish

Preparing the Site

Proper site preparation lays the foundation for a stable and long-lasting wall:

  1. Mark the Area: Use stakes and strings to outline the wall. Spray paint or chalk can also help in marking the exact location.
  2. Excavate: Dig a trench for the foundation. The depth should be below the frost line and wide enough to accommodate the base material and the first course of blocks or stones.
  3. Prepare the Base: Compact the soil using a tamper or plate compactor. Add a layer of gravel, typically 4-6 inches, and compact again. This creates a solid base that ensures proper drainage.
  4. Check for Utilities: Before digging, call your local utility companies to mark any underground lines. This prevents accidental damage to water, gas, or electrical lines. Call 818 to have someone come check out the area 2 days before digging.
  5. Consider Drainage: If the wall is retaining a significant amount of soil, plan for a drainage system behind the wall. This may include a perforated drain pipe covered with gravel.

By following these detailed steps, you’ll be well on your way to installing a retaining wall that not only looks great but also performs its function for years to come. Whether you’re a homeowner looking to enhance your property or a professional landscaper in Snohomish County, these guidelines will help you achieve a successful project.

Building the Wall

Constructing the wall requires careful attention to detail to ensure stability and alignment:

  1. Lay the First Course: Start by laying the first course of blocks or stones. Ensure it’s level by using a long level and adjusting as needed. This first course sets the tone for the entire wall, so take your time to get it right.
  2. Build Up: Continue stacking the blocks or stones, staggering the joints for added stability. Use a masonry adhesive if necessary to bond the blocks together. Check for level and alignment with each course.
  3. Add Drainage: If the wall is retaining a significant amount of soil, install a drainage pipe behind the wall at the base. Cover the pipe with gravel to prevent clogging and allow water to escape, reducing pressure on the wall.
  4. Backfill: Fill the space behind the wall with gravel for the first few feet to promote drainage, then use soil for the remaining backfill. Compact the backfill as you go to prevent settling later.

Finishing Touches

Adding finishing touches enhances the wall’s appearance and functionality:

  1. Cap the Wall: Add a finishing touch with capstones. These can be secured with masonry adhesive and give the wall a polished look.
  2. Landscape: Plant flowers, shrubs, or ground cover near the wall to enhance its appearance. Consider plants that are suitable for the Snohomish County climate and complement the wall’s design.
  3. Add Lighting: Consider adding outdoor lighting to highlight the wall’s features or illuminate a pathway. Solar or low-voltage lighting can be both functional and decorative.

Maintenance and Care

Proper maintenance ensures the wall’s longevity and continued performance:

  1. Regular Inspection: Check the wall regularly for signs of wear, cracks, or movement. Pay particular attention after heavy rains or freeze-thaw cycles, common in Snohomish County.
  2. Cleaning: Remove dirt, stains, or moss as needed. A gentle pressure wash can refresh the wall’s appearance without damaging the materials.
  3. Repair: Address any issues promptly. Small cracks can be filled, but significant movement may require professional assessment.
  4. Drainage Care: Ensure that the drainage system remains clear and functional. Check the pipe’s outlet and remove any debris that may cause clogging.
  5. Seasonal Care: Consider the specific needs of each season. In winter, avoid using salt or chemicals that may damage the wall’s materials. In spring, check for any damage caused by winter weather and make necessary repairs.

By following these comprehensive guidelines, you can build and maintain a retaining wall that adds value and beauty to your property in Snohomish County. Whether it’s a small garden wall or a significant structural element, these steps will guide you to a successful project that stands the test of time.

Need help with a Retaining Wall or a Landscaping Job? Call Ivans landscape & Construction at (425)239-1339

Looking for more Retaining Wall Guides?

Cost Guide Retaining Walls Snohomish County

FAQs

  1. What is the best material for a retaining wall?

    • The best material depends on your preferences, budget, and the wall’s purpose.
  2. Do I need a permit to build a retaining wall in Snohomish County?

    • Yes, depending on the wall’s height and location, a permit may be required.
  3. Can I build a retaining wall myself?

    • Yes, for simple walls, but complex structures may require professional help.
  4. How long does it take to build a retaining wall?

    • It varies based on the wall’s size and complexity, ranging from a weekend to several weeks.
  5. How do I maintain a retaining wall?

    • Regular inspection, cleaning, and prompt repair of any damage will keep the wall in good condition.

NO PROJECT IS TOO BIG OR TOO SMALL GIVE US A CALL